This section is a step-by-step guide to the Monobjc bridge. Everybody new to the Monobjc bridge is invited to read it, as it provides some useful information about the Monobjc bridge.
Requirements
The Monobjc bridge requires the following to run:
- Mac OS X 10.6 or higher
- The Mono MDK (2.10 or higher)
If you consider developing with Monobjc, here are the requirements:
| OS X | Mono | Xcode | IDE |
|---|---|---|---|
| 10.7 | 2.10 or higher | 4.2* or higher | MonoDevelop / Xamarin Studio |
| 10.8 | 2.10 or higher | 4.2* or higher | MonoDevelop / Xamarin Studio |
| 10.9 | 2.10 or higher | 4.2* or higher | MonoDevelop / Xamarin Studio |
* If you install Xcode 4.2 or higher, you may have to install the Command Line tools from the Xcode > Open Developer Tools menu.
Installation of the Monobjc bridge
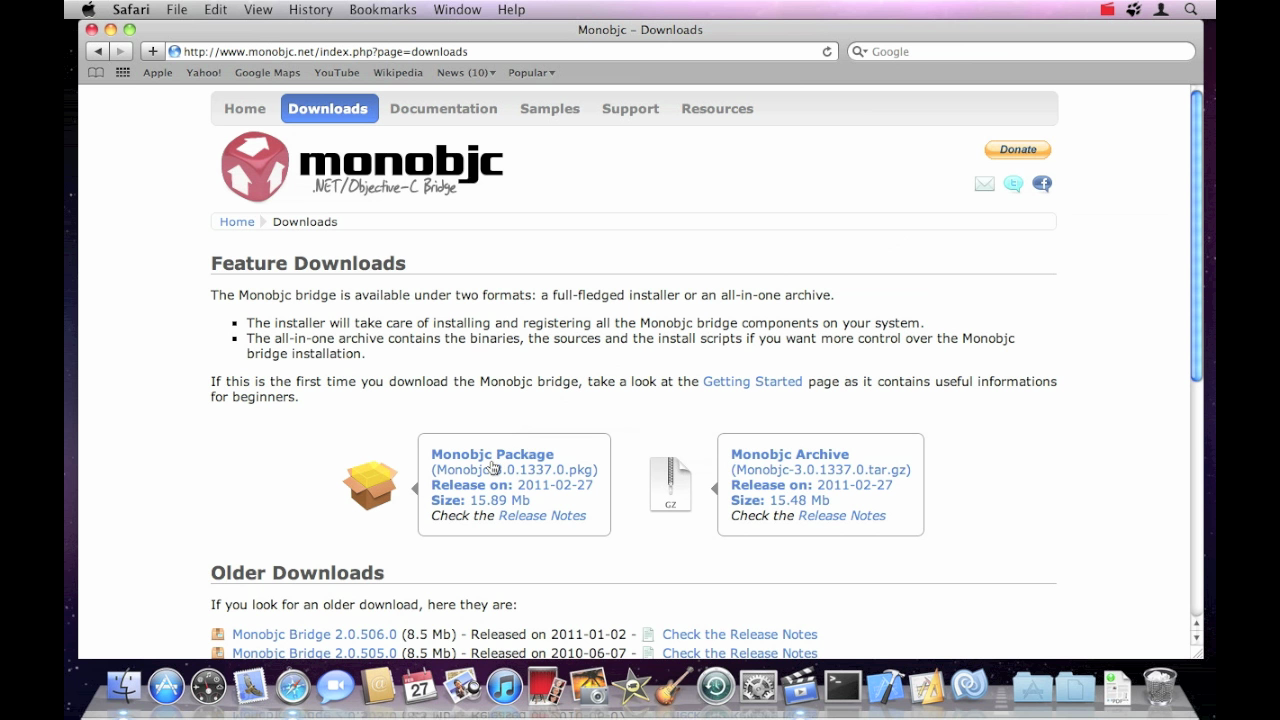
You need to download the Monobjc bridge installer available in the Downloads page.
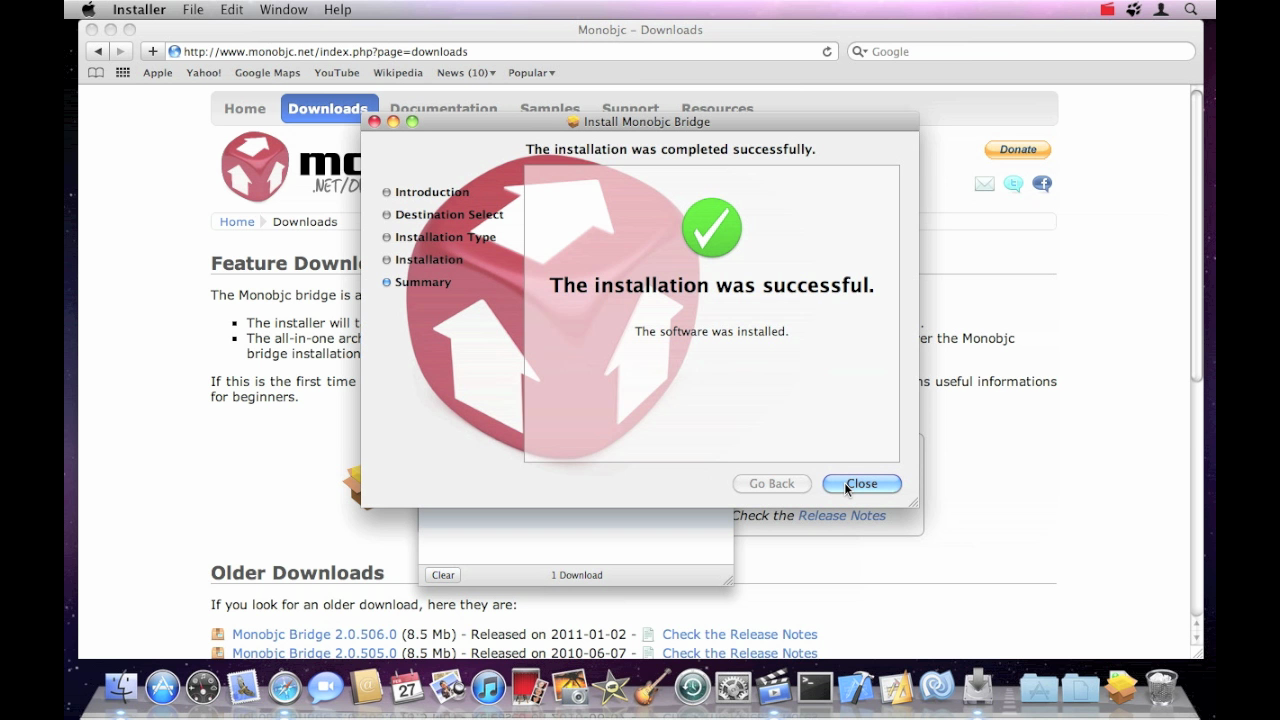
Once downloaded, just double-click on it to perform the installation. The installer will:
- install the Monobjc bridge binaries and sources in
/Library/Application Support/Monobjc. - register the Monobjc bridge libraries into the Mono GAC (General Assembly Cache).
- set up links to binaries.
Note
In order to preserve existing installation, the existing pkg-config binary is not touched.
If you want to use the pkg-config binary bundled with the Mono runtime, you have to create a symbolic link to it.
In order to do that, execute the following command sudo ln -s /Library/Frameworks/Mono.framework/Commands/pkg-config /usr/bin/pkg-config.
Installation of the MonoDevelop addins
If you want to develop with MonoDevelop, a set of addins is available.
- In MonoDevelop, click on the
MonoDevelop > Add-in Managermenu item. - Click on the
Gallerytab. - Click on the
All Repositoriesdrop-down and select the Manage Repositories item. - Click on the
Addto add a new repository with:http://addins.monobjc.net/stable/4.2URL for MonoDevelop 4.2 or Xamarin Studiohttp://addins.monobjc.net/stable/5.0URL for MonoDevelop 5.0 or Xamarin Studio
- Click on Install Add-ins.
- Select the Monobjc Development (Mac Development) add-in.
- Once installed, restart MonoDevelop.


Where to go next
After this short introduction, you can take a look at the Tutorials, the Programming Guide and the Sample Applications. They contain most of the topics that can help you leverage the power of both .NET and Cocoa through the Monobjc bridge.